 BYD Tech
The short answer
To add AI to an existing app, start with one feature that saves users real effort, such as search that understands questions, summaries, or auto-tagging. Call a model provider’s API from your server, never from the app itself, give it your own data where needed, and set limits on cost and behavior. Launch it to a few users behind a feature flag, measure whether it helps, and widen from there.
Key points
- One useful feature beats an "AI" label on everything.
- Call AI models from your server, where keys and limits live.
- Use your own data through retrieval, not by training a model.
- Launch behind a feature flag, with a spending cap.
- Measure whether users actually use it and whether it is right.
Step 1: Pick the feature
| Feature | Good when |
|---|---|
| Search that answers plain questions | Users struggle to find things in your content or data |
| Summaries | Users read long notes, tickets or documents |
| Drafting | Users write similar messages or reports repeatedly |
| Classification and tagging | New records need sorting by hand |
| Extraction | Users copy data out of documents into forms |
Pick the one where the time saved is obvious and a wrong answer is easy to spot and cheap to fix.
Step 2: Call the model from your server
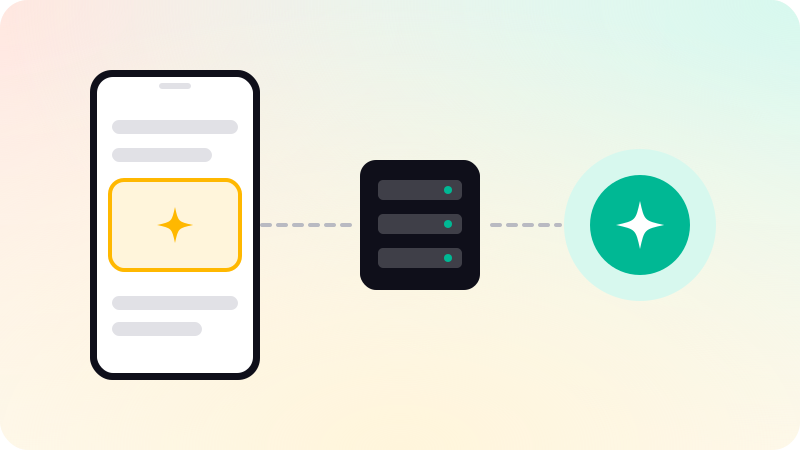
- The app calls your backend, and your backend calls the model provider.
- API keys stay on the server, never in the app or browser.
- Your server enforces who may use the feature and how often.
- Log inputs and outputs, with care for personal data, so you can debug and improve.
- Choose a provider such as OpenAI, Anthropic or Google per task, and keep the code able to switch.
Keys in the app are the most common and most avoidable mistake. See Mobile app security best practices.
Step 3: Use your own data
Most useful features need your data: your documents, your records, the user’s history. The usual way is retrieval: find the relevant pieces and give them to the model with the question. It respects access rules and stays current. Training a custom model is rarely needed. See RAG vs fine-tuning.
Step 4: Set limits
- A spending cap on the model account, and per-user rate limits.
- Instructions that keep the feature on its job.
- Output checks before anything is saved or shown as fact.
- A clear label that the content is AI-generated where that matters.
- An easy way for users to report a bad result.
Step 5: Launch carefully and measure
- Put the feature behind a flag, and turn it on for a small group.
- Measure use: do people try it, and do they come back to it?
- Measure quality: review a sample of outputs and user reports.
- Measure cost per use, so growth does not surprise you.
- Widen the rollout once it earns it.
One AI feature in the product you already have, built in your repository behind a feature flag with a spending cap, is part of our AI agent development work. When the feature needs to take actions, it becomes an agent. See How to build an AI agent.
Sources
Checked when this guide was written.